DIY Jewelry Projects for Students: Fun and Easy Creations
DIY Jewelry Projects for Students
Introduction
Jewelry-making is a fantastic hobby for students who love to express their creativity. Not only does it provide a sense of accomplishment, but it also allows for personalization and the creation of unique accessories. Whether you’re looking for a way to relax, make gifts for friends, or even start a small business, DIY jewelry projects are a great way to get started. In this guide, we’ll explore a variety of fun and easy jewelry-making projects perfect for students. Let’s dive in!
1. Beaded Bracelets: The Perfect Starter Project
Beaded bracelets are an excellent way for beginners to start their journey in jewelry-making. They require minimal materials, are easy to make, and allow for endless customization.
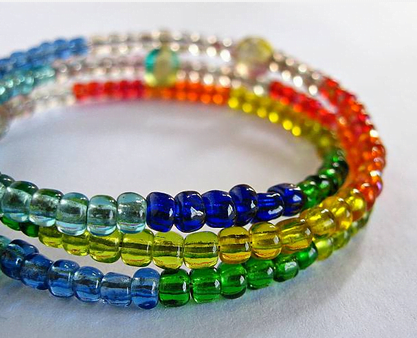
Materials Needed:
- Beads of your choice (glass, plastic, or wooden beads work well)
- Elastic cord or stretchy string
- Scissors
- Crimp beads (optional)
Instructions:
- Measure the elastic cord around your wrist, leaving an extra inch or two for tying the knot.
- String your beads onto the cord in the desired pattern.
- Once you’ve added enough beads, tie a knot at the ends of the cord to secure them in place. You can use crimp beads to make the knot more secure.
- Cut off any excess cord.

2. Friendship Bracelets: A Classic Jewelry Project
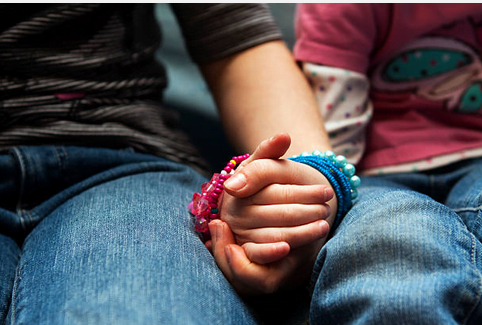
Friendship bracelets have been a favorite among students for decades. They’re simple to make, and the endless color combinations mean you can create something unique every time.
Materials Needed:
- Embroidery floss in various colors
- Scissors
- Tape or a clipboard
Instructions:
- Cut several strands of embroidery floss, each about 24 inches long.
- Tie the strands together at one end with a knot and secure it with tape or a clipboard.
- Follow a simple knotting pattern (such as a chevron or spiral) to create your bracelet.
- Once you’ve reached your desired length, tie another knot to secure the end and trim any excess floss.

3. Wire-Wrapped Rings: Crafting Unique Rings with Simple Tools
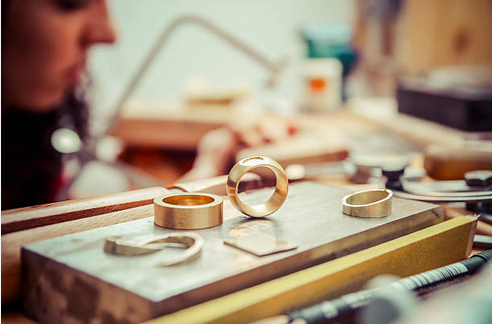
Wire-wrapped rings are a great way to add a touch of elegance to your jewelry collection. With just a few materials, you can create stunning rings that look professional.
Materials Needed:
- Jewelry wire (20-24 gauge)
- Beads or gemstones
- Ring mandrel or cylindrical object (like a marker)
- Wire cutters
- Needle-nose pliers
Instructions:
- Cut a piece of wire about 8-10 inches long.
- Wrap the wire around the mandrel or cylindrical object to form the base of the ring.
- Place your chosen bead or gemstone on the wire and wrap the wire around it to secure it in place.
- Continue wrapping the wire around the ring base to create a decorative pattern.
- Use needle-nose pliers to tuck in any loose ends and secure the wire.

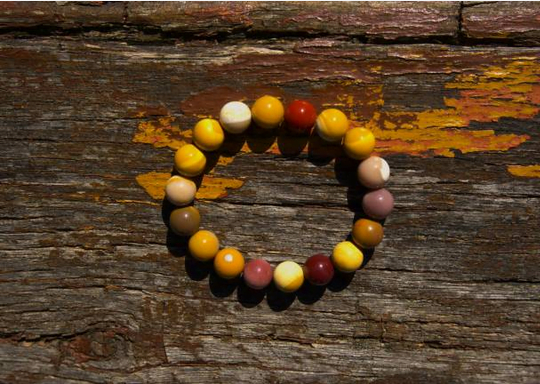
4. Polymer Clay Earrings: Fun and Colorful Designs
Polymer clay is a versatile material that can be molded into virtually any shape, making it perfect for creating custom earrings.
Materials Needed:
- Polymer clay in various colors
- Earring hooks
- Jump rings
- Rolling pin or flat surface
- Clay cutting tools or a small knife
- Baking sheet and parchment paper
- Oven
Instructions:
- Condition your clay by kneading it until it’s soft and pliable.
- Roll out the clay to your desired thickness using a rolling pin.
- Cut out shapes using clay cutting tools or a knife.
- Make a small hole at the top of each shape for attaching the earring hooks.
- Place your clay shapes on a parchment-lined baking sheet and bake according to the package instructions.
- Once the clay has cooled, attach jump rings and earring hooks.

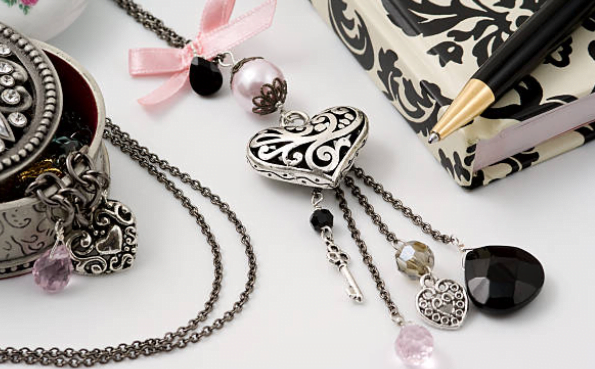
5. Charm Necklaces: Personalize Your Accessories
Charm necklaces are simple to make and offer endless possibilities for customization. Choose charms that reflect your personality or interests for a truly unique piece of jewelry.
Materials Needed:
- Chain necklace or cord
- Assorted charms
- Jump rings
- Pliers
Instructions:
- Select your charms and arrange them in the order you want them on your necklace.
- Use jump rings to attach the charms to the chain.
- Secure the jump rings with pliers to ensure they don’t come loose.

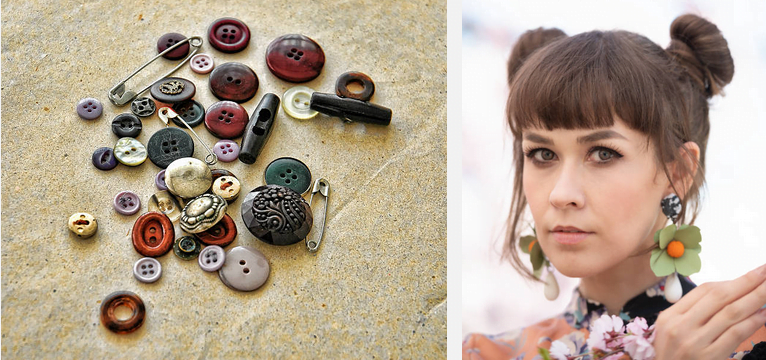
6. Button Earrings: A Quick and Quirky Project
If you have spare buttons lying around, why not turn them into cute earrings? This project is perfect for students who want to recycle materials creatively.
Materials Needed:
- Buttons
- Earring posts and backs
- Super glue or E6000 adhesive
Instructions:
- Select two buttons of the same size and style.
- Apply a small amount of glue to the back of each button.
- Press an earring post onto the glue and hold it in place until it’s secure.
- Allow the glue to dry completely before wearing.

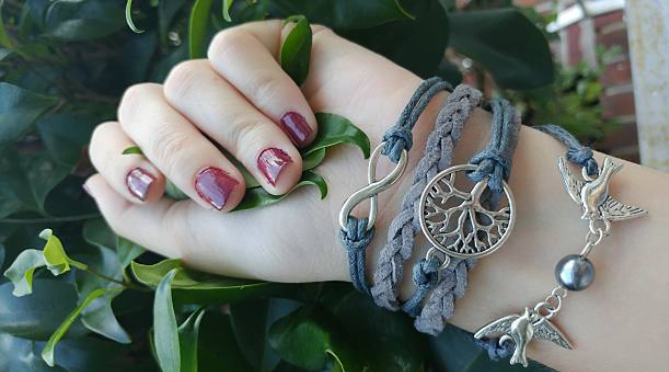
7. Leather Bracelets: Stylish and Durable
Leather bracelets are stylish and durable, making them a great accessory for daily wear. They can be customized with beads, charms, or metal accents.
Materials Needed:
- Leather cord or strips
- Beads (optional)
- Metal accents (optional)
- Scissors
- Clasp or adjustable knot instructions
Instructions:
- Cut the leather cord to your desired bracelet length.
- Add beads or metal accents if desired.
- Attach a clasp to the ends of the cord or tie an adjustable knot for closure.

8. Shell Necklaces: Beachy and Beautiful
Shell necklaces are perfect for students who love the beach. Collect shells during your next beach trip and turn them into beautiful necklaces.

Materials Needed:
- Shells with holes or a drill to make holes
- String, cord, or chain
- Jump rings (optional)
- Pliers
Instructions:
- Clean the shells and drill holes if needed.
- Thread the string or cord through the shells.
- Attach jump rings if using a chain, and secure them with pliers.

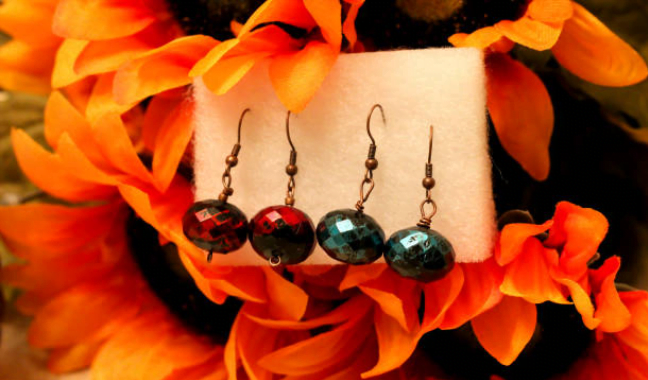
9. Tassel Earrings: Vibrant and Fun
Tassel earrings add a pop of color and fun to any outfit. They’re simple to make and can be customized with different colors and materials.
Materials Needed:
- Embroidery floss
- Earring hooks
- Jump rings
- Scissors
- Cardboard or a small book for wrapping
Instructions:
- Cut a piece of cardboard or use a small book to wrap your embroidery floss around until you reach the desired thickness.
- Slide the floss off and tie a piece around the top to secure the tassel.
- Cut the bottom loops of the tassel to create the fringe.
- Attach a jump ring to the top of the tassel and then attach an earring hook.

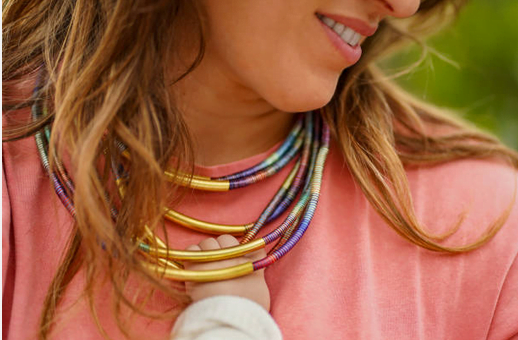
10. Braided Necklaces: Simple Yet Stylish
Braided necklaces are a great way to add texture and style to your jewelry collection. They’re easy to make and can be customized with different colors and materials.
Materials Needed:
- Cord or yarn in different colors
- Scissors
- Clasp or adjustable knot instructions
Instructions:
- Cut three equal lengths of cord or yarn.
- Tie them together at one end and secure it with tape or a clipboard.
- Braid the cords together until you reach the desired length.
- Attach a clasp or tie an adjustable knot for closure.

Conclusion
DIY jewelry projects offer students a wonderful opportunity to explore their creativity, learn new skills, and make unique accessories. Whether you’re a beginner or have some experience, these projects provide a great starting point for your jewelry-making journey. So gather your materials, follow the instructions, and enjoy the process of creating beautiful jewelry!
By incorporating keywords like “DIY jewelry projects for students,” “easy jewelry projects,” and “student jewelry crafts,” this blog post is optimized for search engines, helping more students discover and enjoy these creative projects.


